ORGANIZING DIGITAL PHOTOS IN FIVE STEPS
Now that the holiday season has ended, what are you going to do with the 1500 digital photos you took? One of the many joys of digital photography is the ability to snap away with reckless abandon. Sorting and organizing digital photos afterward? Not so much…
The New Year offers a great chance to begin a new project. Unfortunately, when it comes to managing our digital photo libraries, it seems the only thing we know to do is simply buy a larger external hard drive. The idea of managing our photo libraries can seem like a daunting task, but you’ll find that once you have a strategy and get started, it can be a simple process.
We have a plan to help you with organizing digital photos in your collection so you can easily find your favorites and free up some well-needed hard drive space. The steps below are designed to fit your schedule. You can break them up and do one step per week, just make sure to finish the job so you'll be able to find your favorite images at a moment’s notice.
 STEP ONE
CONSOLIDATE All DIGITAL CAMERAS AND SMARTPHONES
STEP ONE
CONSOLIDATE All DIGITAL CAMERAS AND SMARTPHONES
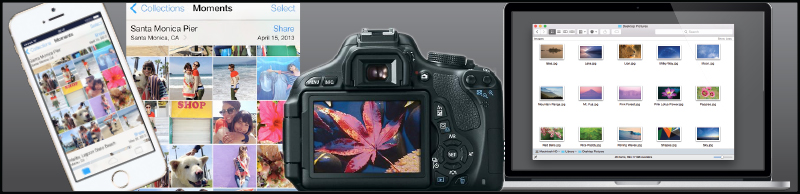
Most families have multiple
compact digital cameras and smartphones and all are being used during holiday gatherings. Many of these digital cameras are already full of photos yet to be transferred to a computer. It’s time to get everything in one place, including additional memory cards, USB drives and any other media containing photos. Ask your kids if there are special photos they’d like to have included in your master library. Or better yet, ask if you can scroll through their camera roll because there may be some treasures you may want. They can simply email or text those photos to you. Emailing is best because you will receive the full resolution files.
Put all the digital photo files in one place so they can be organized and protected later. Your best bet? The family’s central computer.
 STEP TWO
CREATE A SYSTEM THAT FITS YOUR HABITS
STEP TWO
CREATE A SYSTEM THAT FITS YOUR HABITS
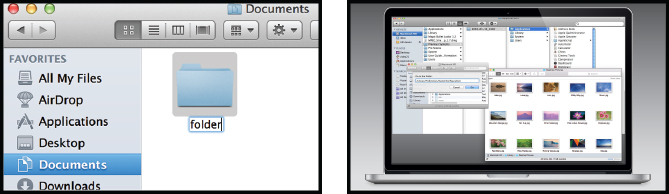
Keeping digital photos organized means having a file system in place that can be easily duplicated and maintained over time. For example, many people choose to create sub-folders for each year under the master Photos folder. From that point, you’ll need to decide if the sub-folders for each year should be monthly, seasonal, by event or a combination. There is no method that works best. The only right answer is what works for you! As an example, your file tree may resemble My Photos>2014>December or My Photos>2014>Winter or My Photos>2014>Family Reunion.Many software programs will automatically create a folder system for you but you still may need to create sub-folders to keep images organized. Otherwise, they will be placed in one large master folder, which can become difficult to sort through down the road. Your digital camera’s settings will need to be accurate for this function to work properly.
Once you have decided on a method, make sure you have a folder established before transferring digital photos to your external hard drive. To keep the system working, your photos need a place to land in advance, even if you create the folder immediately before transferring.
 STEP THREE
MASS PHOTO EXODUS
STEP THREE
MASS PHOTO EXODUS
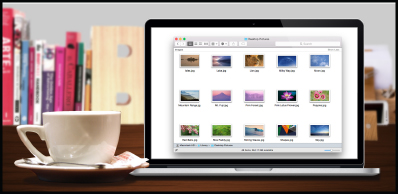
This step in organizing digital photos may take longer than the first two, it will also be more enjoyable. Settle down with a cup of coffee, play some music and get ready for a trip down memory lane.When moving photos from multiple digital cameras and devices, you can handle this in one of two ways: you can either transfer all the images into a master folder and them sort and organize, or you can organize them as you go with each device. If you’re short on time, it's better to transfer everything into one location first, but this may draw out the process and take more time down the road to manage.
Some digital cameras may have months of images while others may have images from a recent event, such as a birthday party or holiday. Start the process of sorting images and putting them in the proper file folders. As you sort, check the images and delete duplicates, blurry images or photos that are too similar to others. Each image can take several megabytes of space on your external hard drive, so deleting will not only free up space, but the ‘image clutter’ will be eliminated so that you can more easily find your favorite photographs.
Repeat with each digital camera or
memory card. Once you’ve finished the transfers and verified that the images were safely moved to your computer, reformat your memory card using your camera’s format function. Reformatting your card a few times a year will help maintain the card’s efficiency and reliability when handling future photos.
Many of us also receive photos from loved ones via email, check your inbox and saved folders for photos to be included in this process.
 STEP FOUR
FIND YOUR FAVORITES
STEP FOUR
FIND YOUR FAVORITES
This is an optional step, but one that many photographers find extremely helpful in locating pictures of specific people. Most image editing programs have a tool for marking favorite images, and this can come in handy when you need to create a slide show, a scrapbook or other project. Many programs have features that use facial recognition software, and once it’s set up, it does a fairly good job. It’s much faster than tagging each photo individually and you can always correct any mistakes as you go.As you look through the images, use the opportunity again to delete duplicates. After all, you really don’t need ten images of the kids on the park bench when one or two will do nicely.
 STEP FIVE
BACK UP YOUR ENTIRE LIBRARY
STEP FIVE
BACK UP YOUR ENTIRE LIBRARY
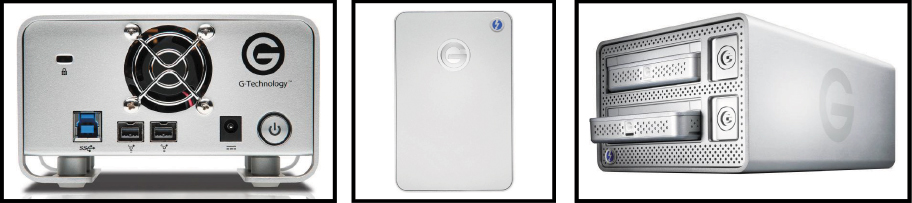
Once your images have been imported, edited, organized and tagged, take that finalized library and copy the entire master folder to a high-capacity
external hard drive. If you don’t have one, you can also copy the images to DVD-R but it may require spreading the files among several discs. Today’s external storage media is relatively inexpensive and you’ll get a great deal of storage for the money. To help you select a make and model, you can check reviews and related information on a reputable tech sites such as
Cnet.com. Online backup is also an important part of your long-term preservation strategy. When choosing the right service, a flat rate is best as photos take up substantial space (and videos demand even more). Consider a company that has a stable reputation and check the FAQ section on its site to learn more about the specifics of the process. We recommend Mylio.com, who offers multi-device backup with or without the cloud. Apple users can use Time Machine for backup to an external drive and can be set up on an automatic backups schedule.
You may also want to print your favorite photos because printed photos won’t crash! A printed photograph is often overlooked as back-up option but it is a reliable one and very easy to complete. Just bring them on a memory card and we’ll print high quality images for you. Better yet, order two sets – one for your personal library and a second set to keep in another location with your discs or secondary external hard drive. We have
archival photo albums for sale online that will protect your pictures from fading or sticking. You can also
order a photo book of your holiday images, just one or several as gifts, to send to loved ones.
Once you’ve completed this organizing digital photos project, you’ll find it much easier to keep up with your digital photos throughout the year. If you have any questions about this process, drop by any of our
Samy's Camera Store Locations. We’d be happy to help you!
Do you have any extra tips for organizing digital photos? Share them with us in the comments.